Introduction
Android Smart TVs have completely changed the way we watch television. From online streaming apps like YouTube, Amazon Prime and Netflix to screen mirroring and OTT platforms, everything depends on a stable internet connection. But one of the most common and frustrating issues users face today is the Wi-Fi not connecting problem in Android Smart TV.
Based on real technical experience, this issue is rarely caused by hardware damage. In most cases, it happens due to incorrect settings, temporary software glitches, router configuration problems, or network conflicts& wrong date and time. The good news is that you do not need to visit a service center or call a technician in most situations.
In this complete guide, you will learn how to fix Wi-Fi not connecting problem in Android Smart TV step by step, even if:
- Wi-Fi network is not showing problem
- TV connects to Wi-Fi but shows no internet error
- Wi-Fi disconnects automatically
- Problem started after a software update
This guide works for almost all Android Smart TV brands and models.
Why Wi-Fi Is Not Connecting in Android Smart TV?
Before applying solutions, it is important to understand why this problem happens. Knowing the reason helps you choose the right fix and avoid repeating the issue in the future.
Common Reasons Behind Wi-Fi Problems
- Incorrect Wi-Fi password
- Weak or unstable Wi-Fi signal
- Router configuration issues
- Temporary Android TV system bugs
- Corrupted network cache
- DNS related errors
- Outdated Android Smart TV software
- Incompatibility with 5GHz Wi-Fi network
Now let’s move to the solutions one by one.
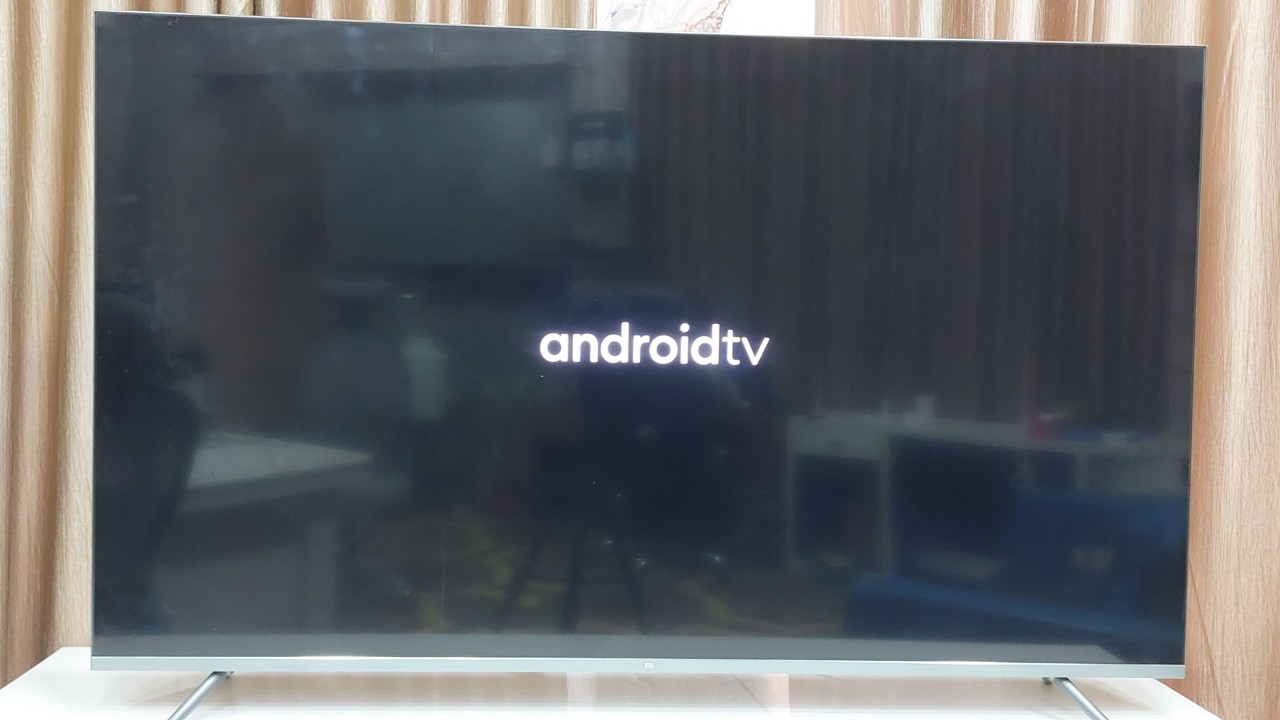
Step 1: Restart Your Android Smart TV
Restarting the TV is the simplest but most effective solution. It clears temporary cache files and stops background processes that may block the internet connection.
How to Restart Properly
- Turn OFF your Android Smart TV
- Unplug the power cable from the wall socket
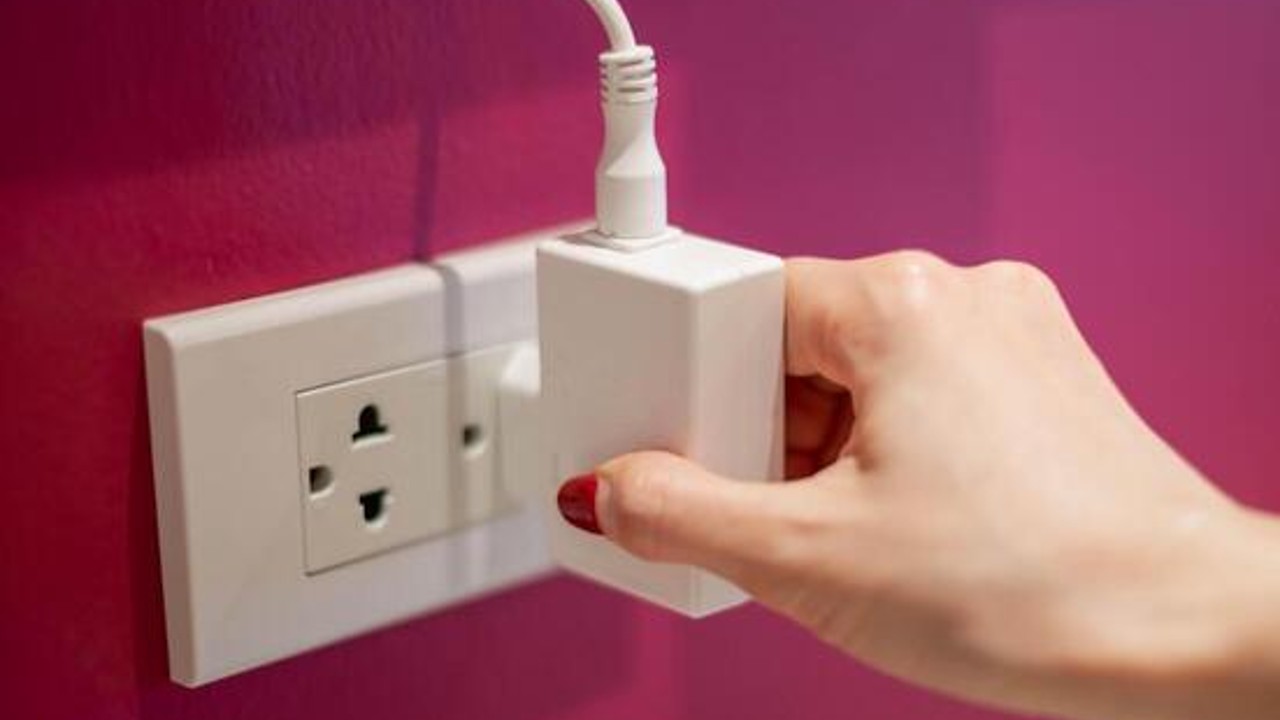
- Wait for at least 2–3 minutes
- Plug the cable back in and turn the Smart TV ON
Many users are surprised to see that the Wi-Fi problem gets fixed at this stage itself.
Step 2: Restart Your Wi-Fi Router
Sometimes the issue is not with the TV but with the router itself.
What You Should Do
- Turn OFF the Wi-Fi router
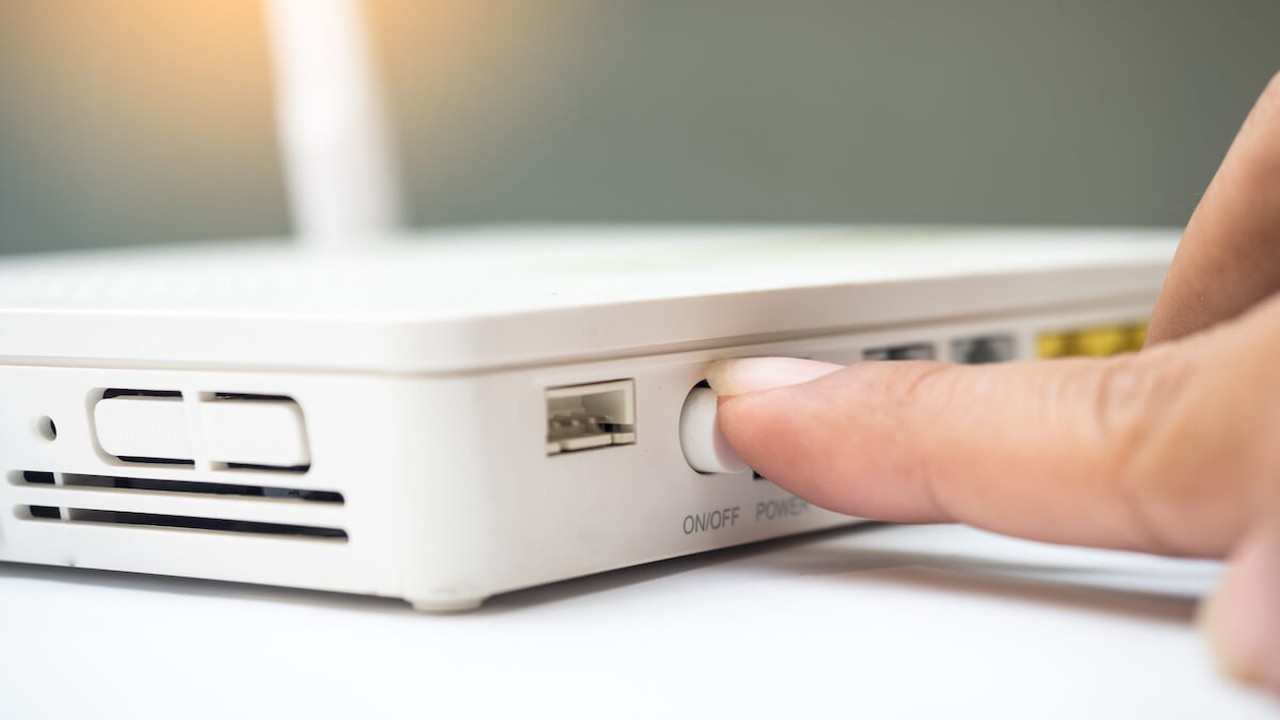
- Remove the power cable
- Wait for 2 minutes
- Restart the router
Wait until all indicator lights become stable
Once the router is fully restarted, try connecting Wi-Fi again on your Android Smart TV.
Step 3: Check Wi-Fi Password Carefully
Entering the wrong Wi-Fi password is one of the most common mistakes.
Important Things to Remember
Wi-Fi passwords are case-sensitive, so uppercase and lowercase letters matter. Avoid adding extra spaces and make sure special characters are typed correctly using the TV remote.
A quick test is to connect your Android Smart TV to a mobile hotspot. If the TV connects successfully to the hotspot, it means your TV is working fine and the problem is related to your home Wi-Fi or router.
Step 4: Forget Wi-Fi Network and Reconnect
Saved Wi-Fi data can become corrupted over time, which can cause connection problems.
Steps to Forget and Reconnect Wi-Fi
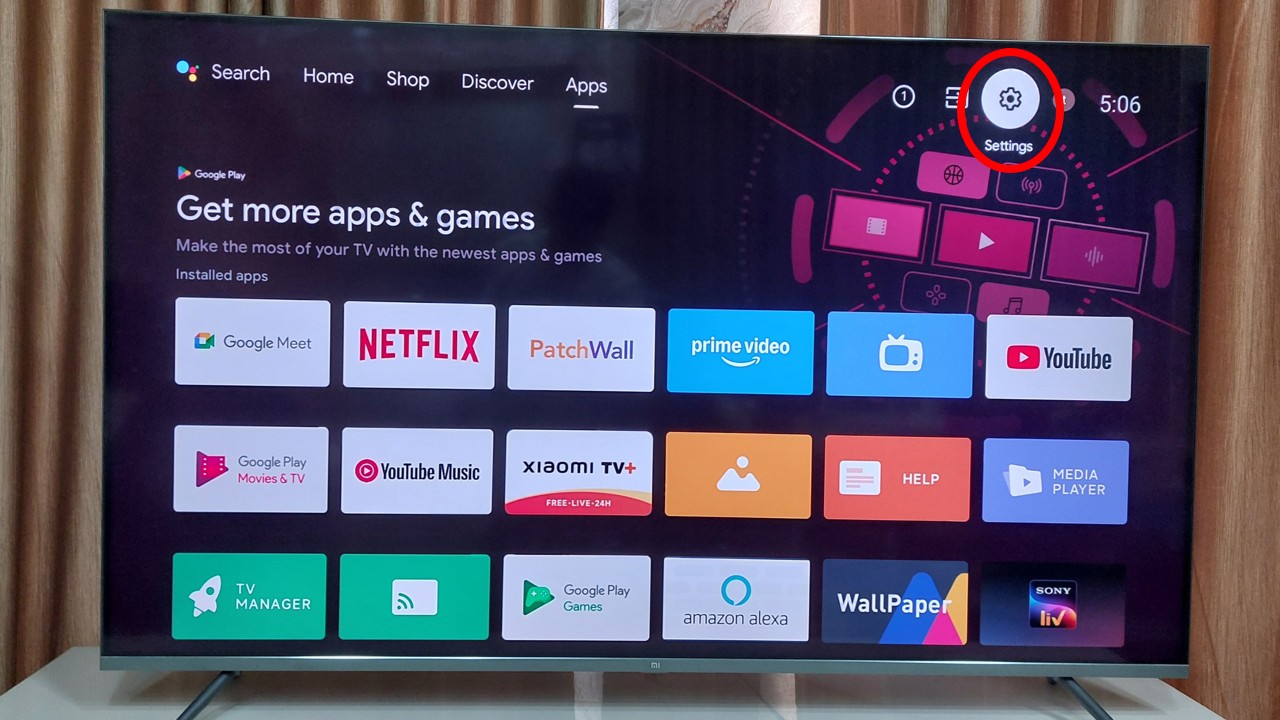
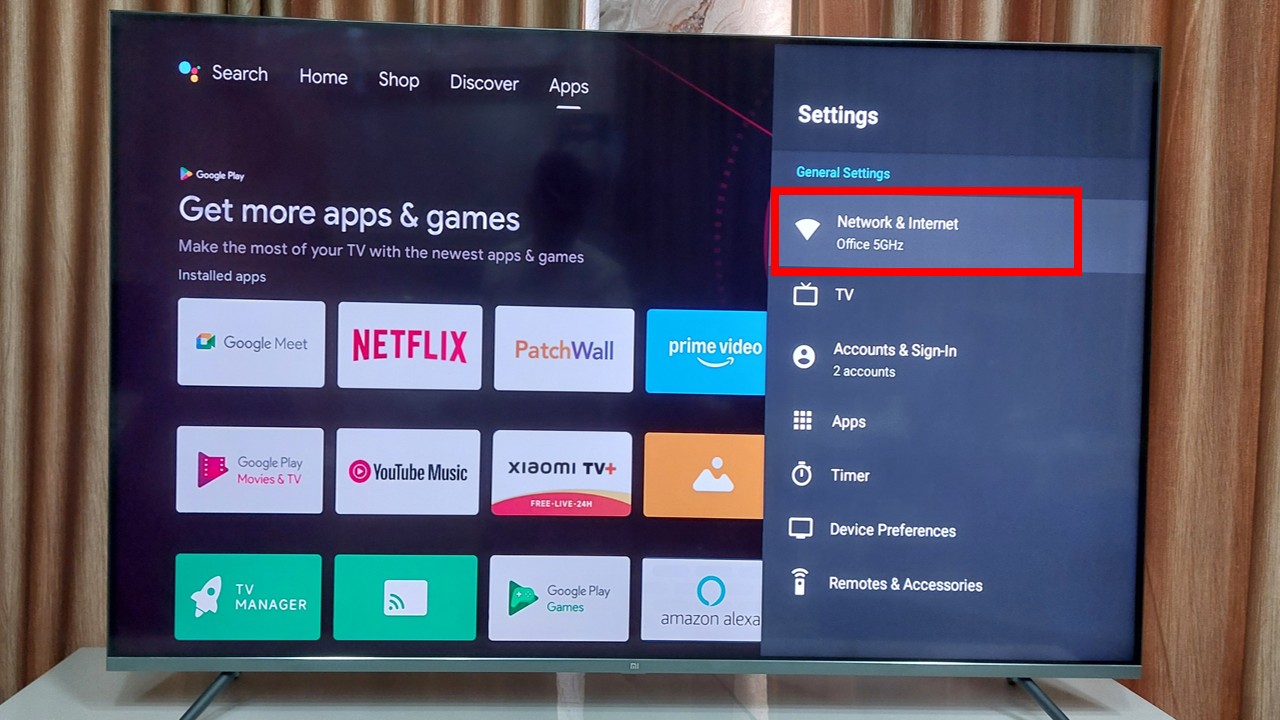
- Open Settings on your Android TV
2. Go to Network & Internet
3. Select your connected Wi-Fi network
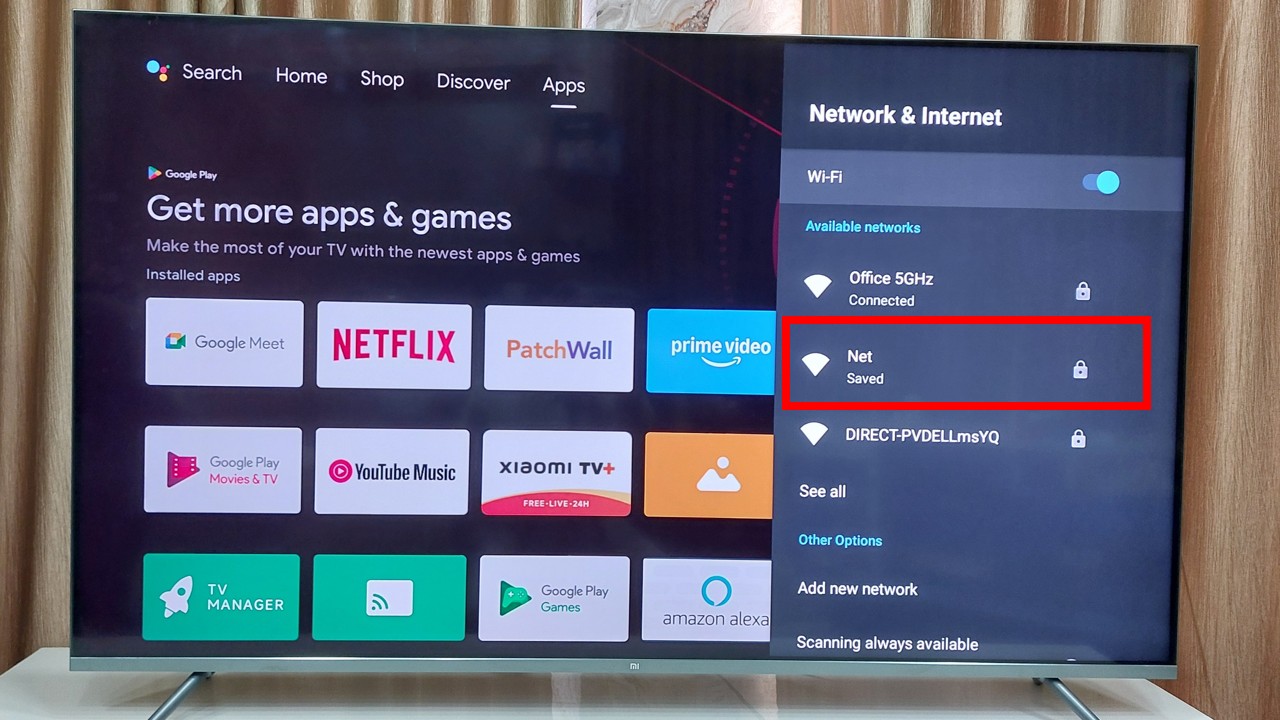
4. Click Forget Network
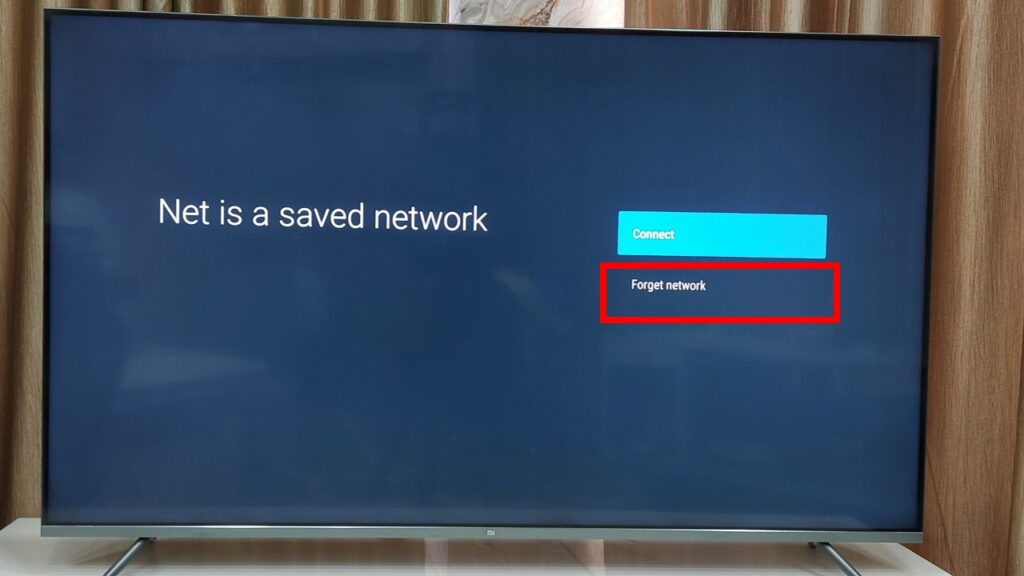
5. Restart the TV
6. Connect to the Wi-Fi network again
This refreshes the network configuration completely.
Step 5: Fix Date and Time Settings
Incorrect date and time settings can block secure internet connections on Android devices.
How to Fix Date and Time
- Go to Settings → Device Preferences
- Click on Device Preferences
3. Open Date & Time
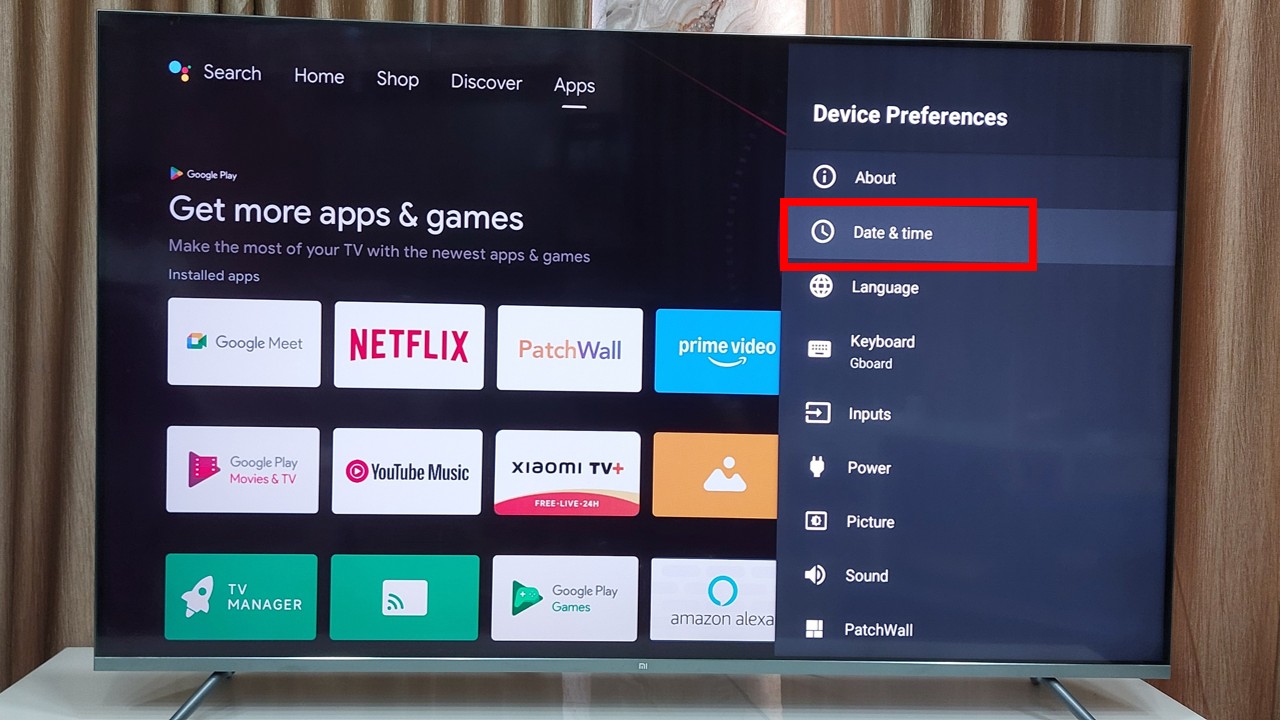
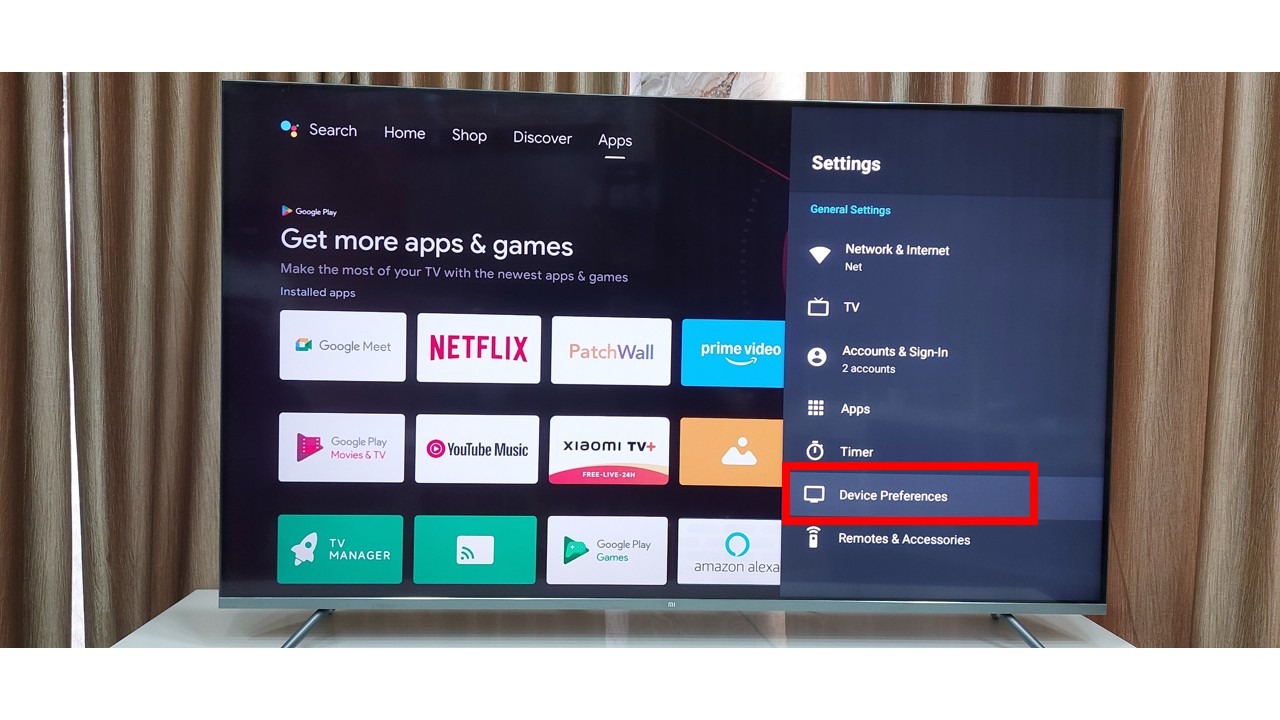
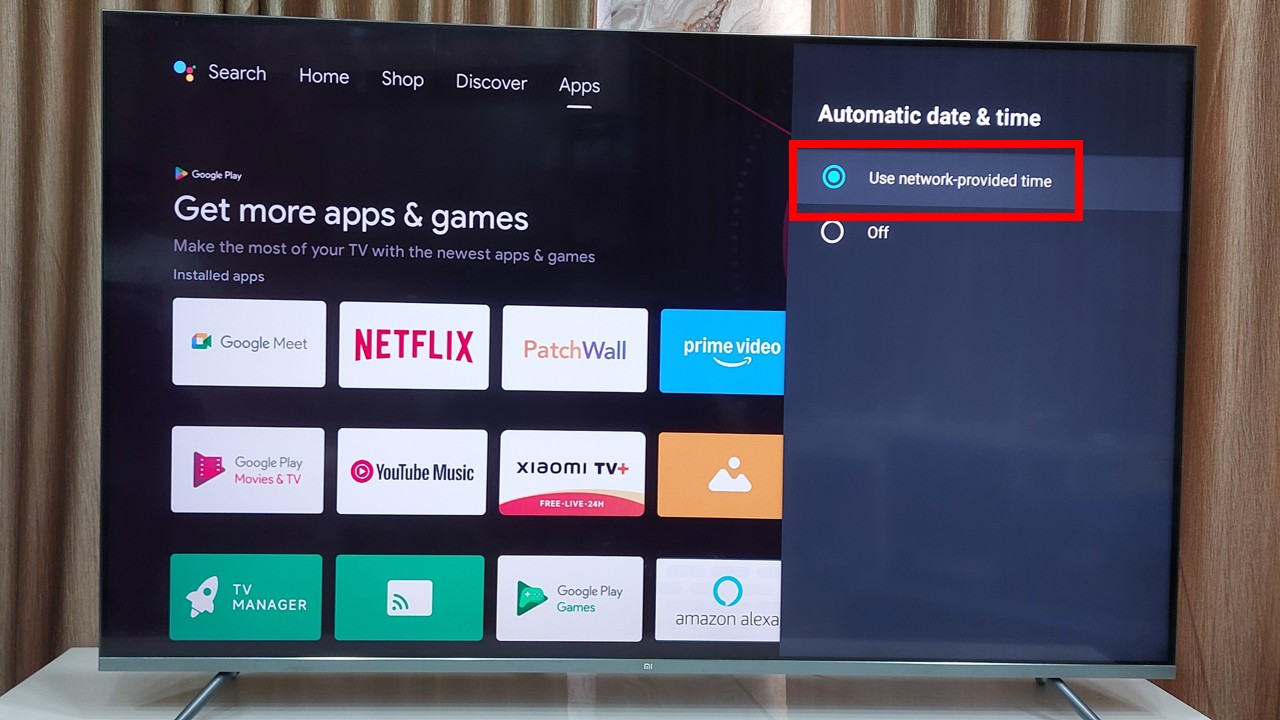
4. Enable Automatic Date & Time
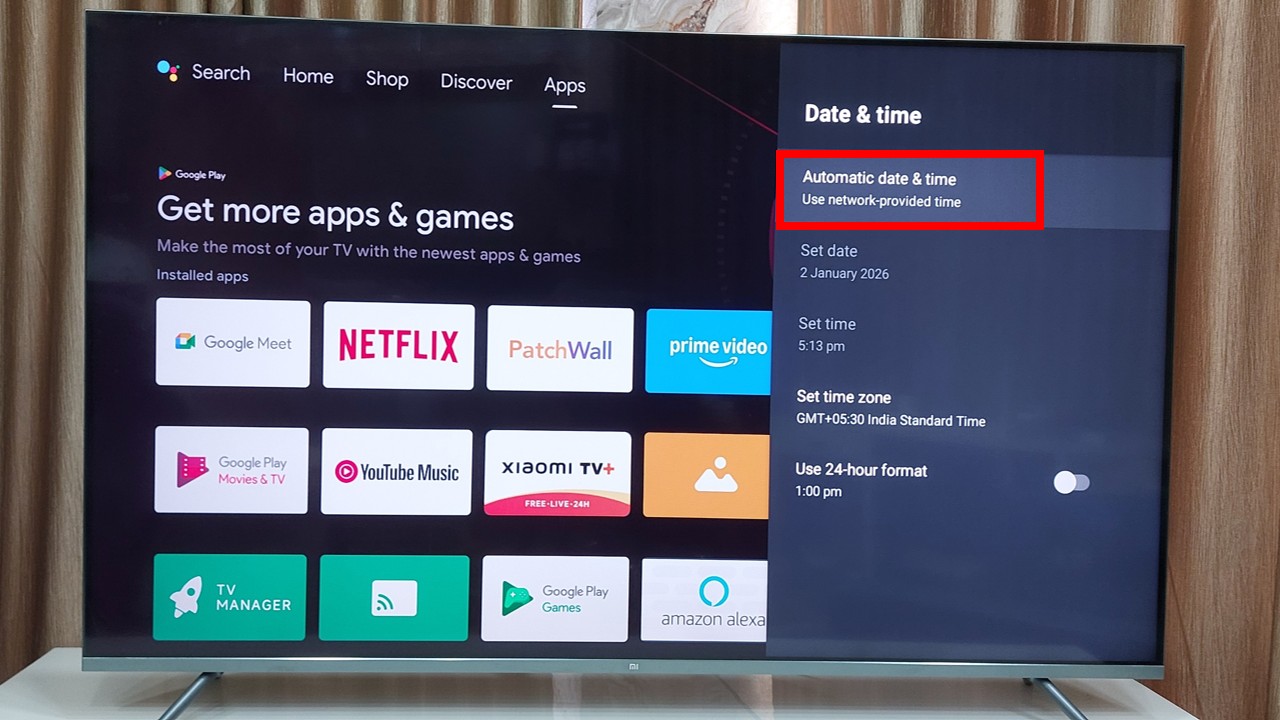
5. Enable Automatic Time Zone
Restart your TV after making these changes.
Step 6: Change DNS Settings Manually
DNS issues are a hidden but very common reason behind Wi-Fi connection problems.
Recommended DNS Settings
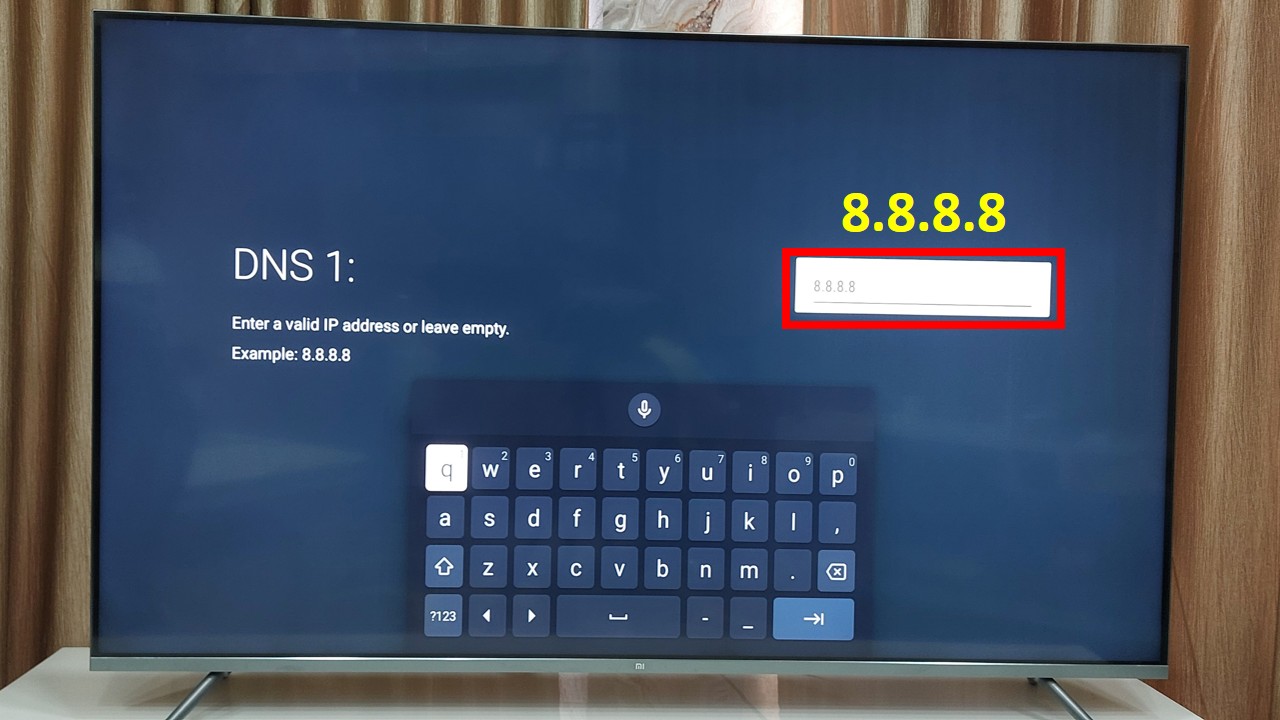
- Primary DNS: 8.8.8.8
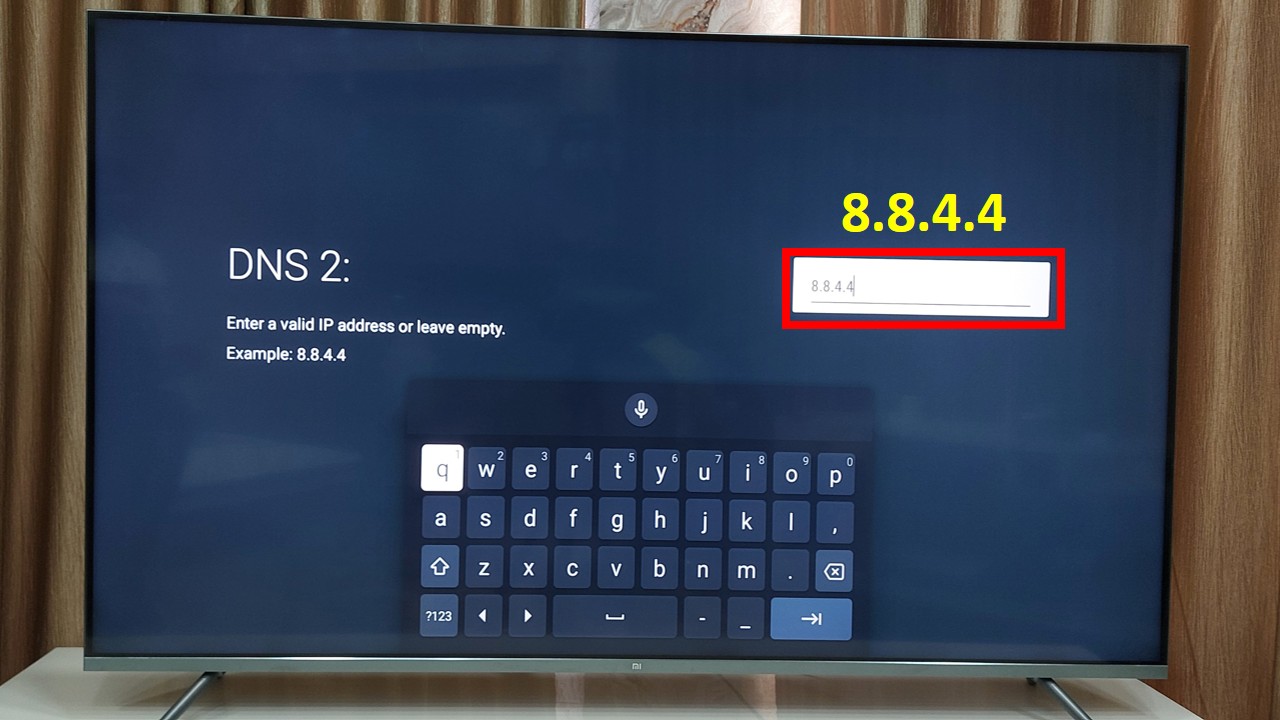
- Secondary DNS: 8.8.4.4
Steps to Change DNS
- Open Network Settings
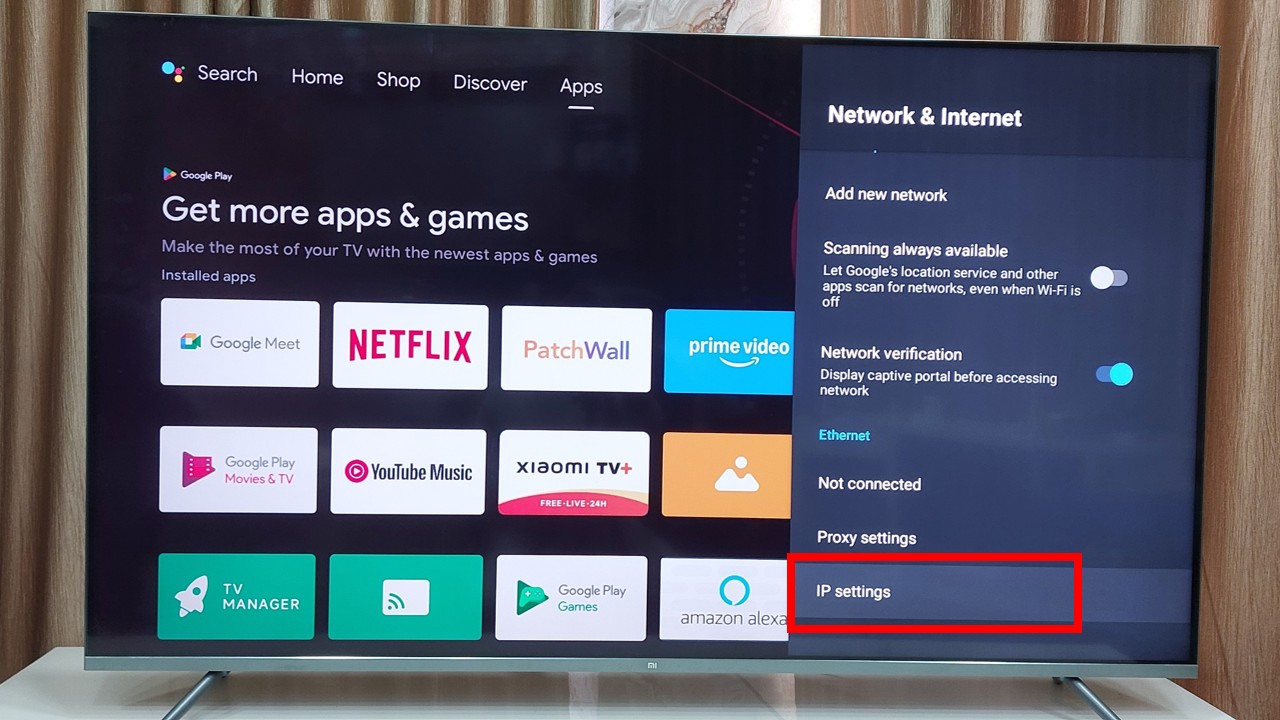
2. Select your connected Wi-Fi
3. Choose IP Settings → Static
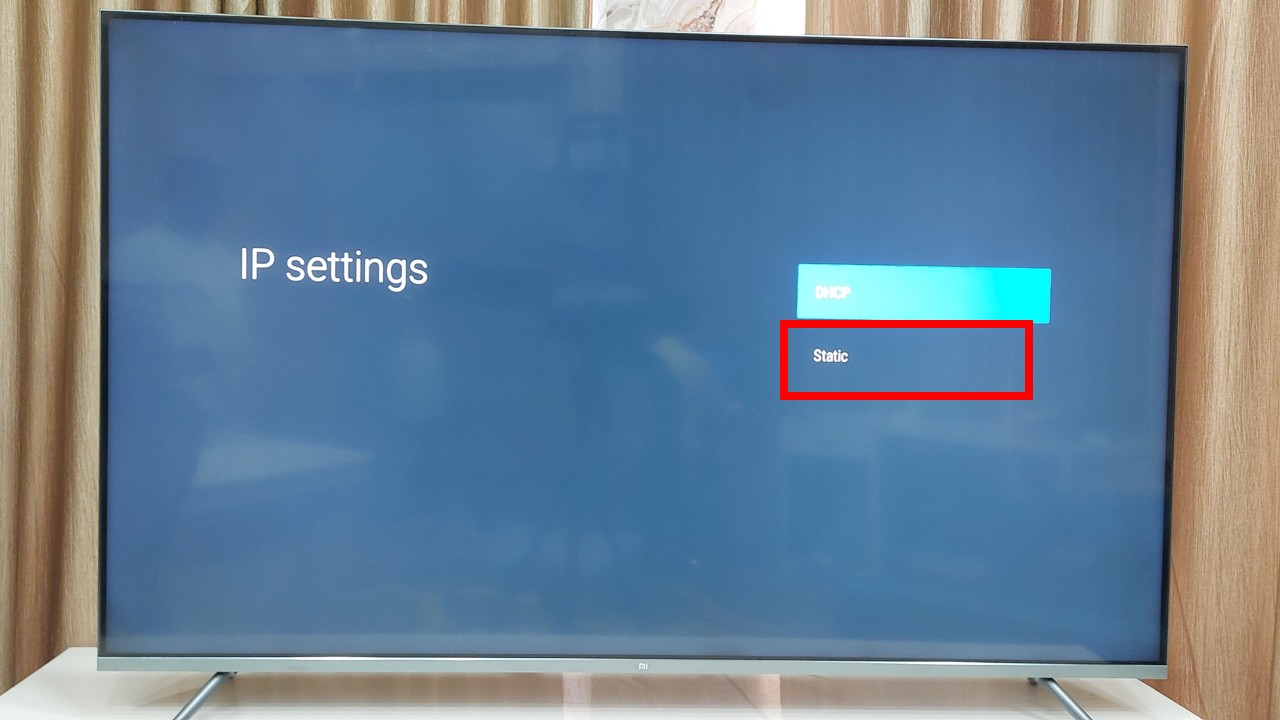
4. Enter the DNS values
5. Save the settings
Manual DNS often fixes the “connected but no internet” problem.
Step 7: Use 2.4GHz Wi-Fi Instead of 5GHz
Many Android Smart TVs do not work properly with 5GHz Wi-Fi networks.
Best Practice
Enable 2.4GHz Wi-Fi on your router and use dual-band mode if available. If possible, rename the 2.4GHz and 5GHz networks separately and connect your TV to the 2.4GHz network.
Step 8: Update Android Smart TV Software
Outdated software can cause Wi-Fi bugs and connectivity issues.
How to Update Software
- Go to Settings → Device Preferences
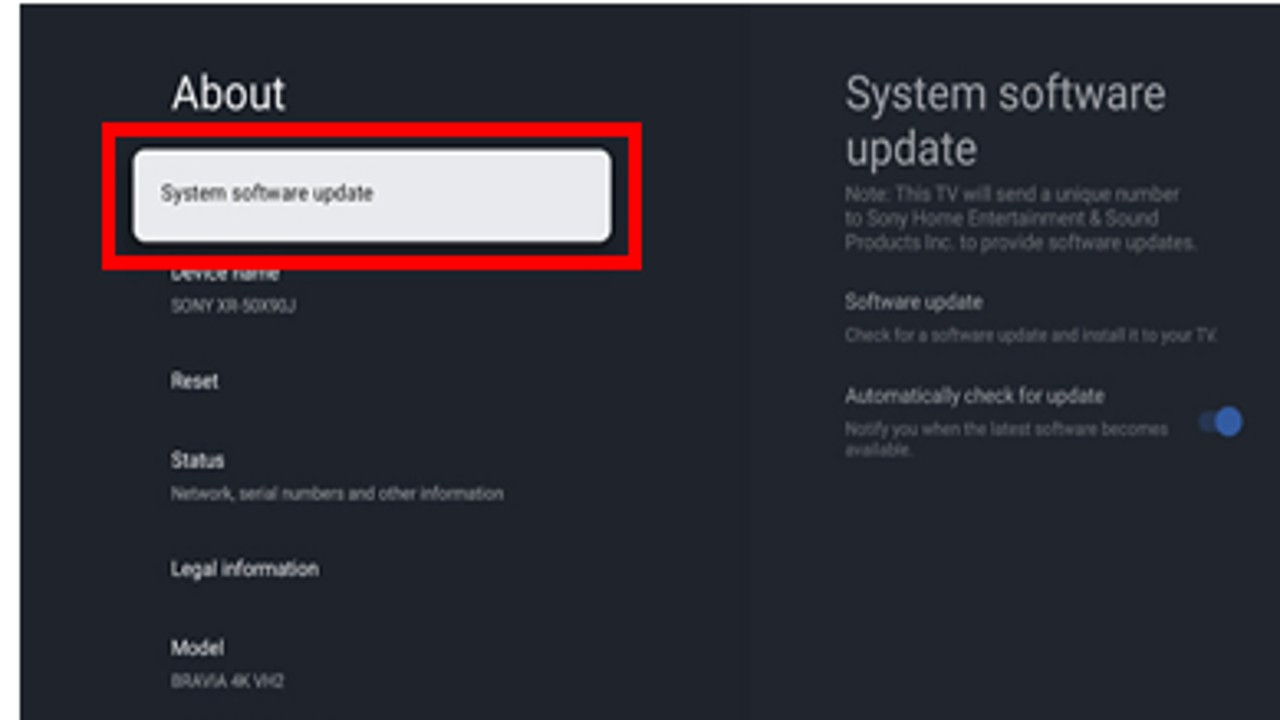
- Select About
- Click System Update
- Install any available updates
Always keep your Android Smart TV software up to date.
Step 9: Reset Network Settings Only
If Wi-Fi still does not connect, resetting network settings is a safe option.
Steps
- Go to Settings → Device Preferences
- Open Reset Options
- Select Reset Network Settings
Restart the TV
This will not delete your apps or personal data.
Step 10: Factory Reset (Last Option)
If none of the above solutions work, factory reset can fix deep software issues.
Important Warning
Factory reset will remove all installed apps, Google account, and saved data. Use this option only as a last solution.
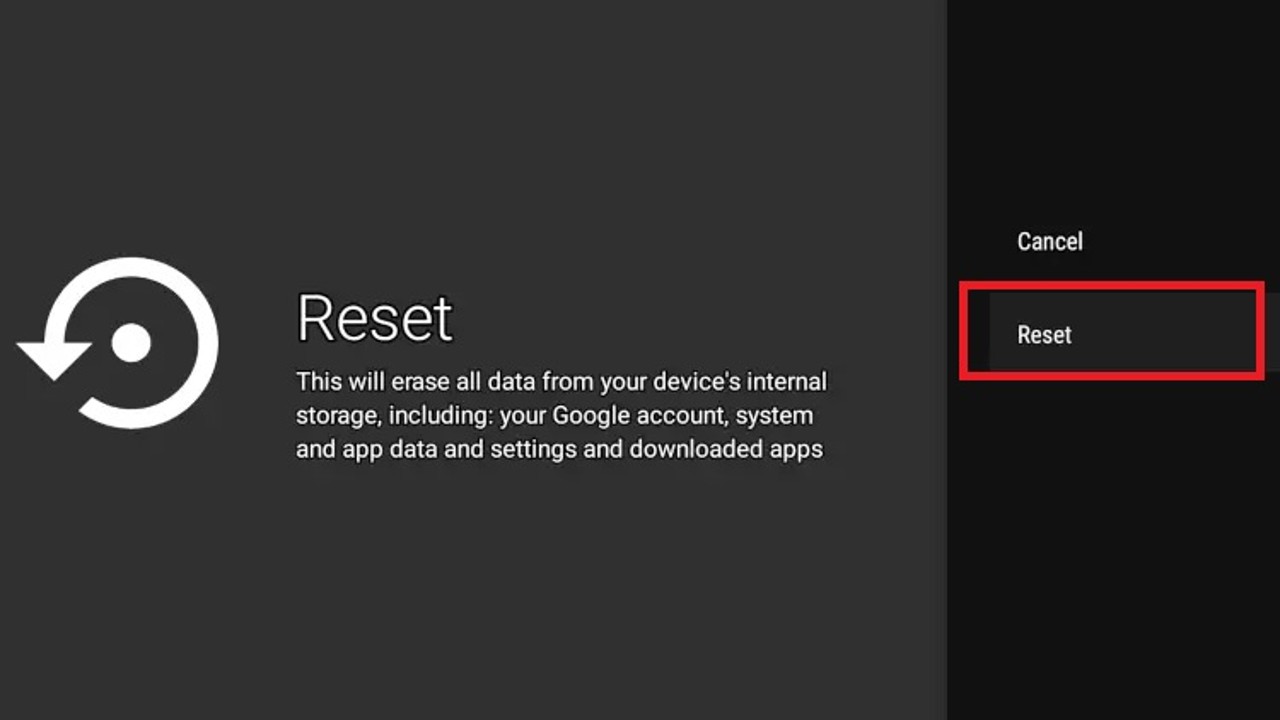
Factory Reset Steps
- Go to Settings → Reset
- Select Factory Data Reset
- Confirm and wait for the process to complete
After reset, set up your Wi-Fi connection again.
Bonus Tip: Use LAN Cable for Stable Internet
If Wi-Fi problems continue, using a wired connection is the most reliable option.
Benefits of Using LAN Cable
A LAN cable provides faster internet speed, stable connection, and no signal drops. It is ideal for streaming and online content.
Frequently Asked Questions (FAQ)
What is the most common reason for Wi-Fi not connecting in Android Smart TV?
The most common reason is incorrect Wi-Fi password, weak signal strength, or router configuration issues. In many cases, restarting the TV and router fixes the problem.
Why does my Android Smart TV connect to Wi-Fi but show no internet?
This usually happens due to DNS errors, incorrect date and time settings, or restrictions from the router. Changing DNS settings often solves this issue.
Can restarting the Android Smart TV fix Wi-Fi issues?
Yes, restarting the TV clears temporary system glitches and cache, which often resolves Wi-Fi connection problems.
Is factory reset necessary to fix Wi-Fi not connecting problem in Android Smart TV?
Factory reset is not usually required. It should only be used as a last option when all other troubleshooting steps fail.
Is using a LAN cable better than Wi-Fi for Android Smart TV?
Yes, a LAN cable provides a faster and more stable internet connection compared to Wi-Fi, especially for streaming and online content.
Does Android Smart TV support both 2.4GHz and 5GHz Wi-Fi?
Most Android Smart TVs support both, but many work more reliably on the 2.4GHz band.
Final Conclusion
The Wi-Fi not connecting problem in Android Smart TV is frustrating, but in most cases, it is completely fixable without professional help. By following these step-by-step solutions in the correct order, you can solve almost every Wi-Fi issue at home.
Always start with basic fixes like restart and Wi-Fi reconnection, move to DNS and software updates, and use factory reset only when absolutely necessary.
Pingback: Fix Wi-Fi Not Showing & No Internet Error in Windows 11
Pingback: How to Fix Zoom Stuck on Connection in Windows 11